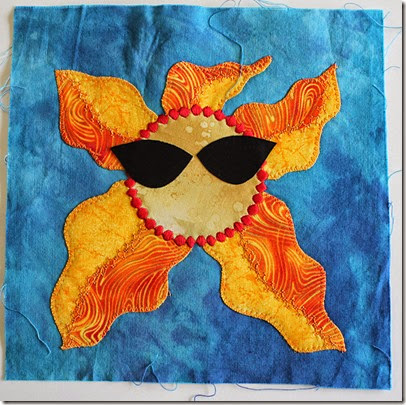
 This is a block I made in a class I took from Mickey Depre a few years ago at QuiltNebraska, the Nebraska State Quilt Guild's annual convention. It is such a cheery block but I never quite knew what to do with it until now.
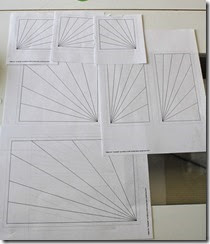
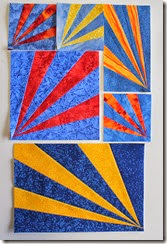
This year our quilt guild challenge gave me an idea to use this block as part of my challenge. The challenge was to make a quilt that depicted a song title. The song I chose was “You Are My Sunshine”. It is a favorite song of mine as my father in law used to sing it to our daughters all the time so they also feel a connection to the song.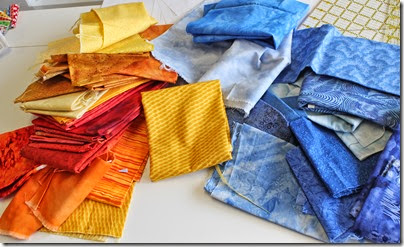 I pulled some fabrics that blended with the block I'd but came up with another idea by this time so just started drawing blocks in my Electric Quilt computer program and proceeded to start foundation piecing the different sized sun blocks. This is just the pieced part of the block as there will be 1/4 circles appliqued to the corners to make them look more like suns.
 I pulled some fabrics that blended with the block I'd but came up with another idea by this time so just started drawing blocks in my Electric Quilt computer program and proceeded to start foundation piecing the different sized sun blocks. This is just the pieced part of the block as there will be 1/4 circles appliqued to the corners to make them look more like suns.
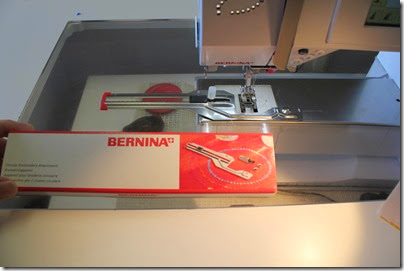
Next step was to add the quarter circle suns to the corners. I used the Bernina circle attachment and it made it a breeze. I backed the bright fabrics with a lightweight interfacing then after stitching the circle wrong sides together I turned and pressed them. Perfectly smooth curves! This way the edges were turned under and they could be appliqued down on the blocks.
The whole idea of the circle attachment is that the fabric is anchored in the center with a pin which guides the fabric in a circle as it is stitched. Pretty simple idea but the circles can be adjusted to different sizes and more stitching can be added in the circles easily with this tool.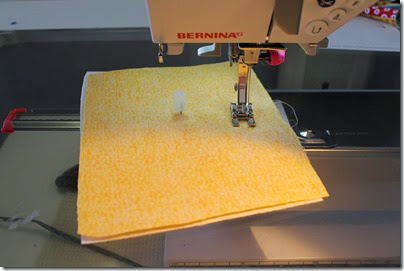
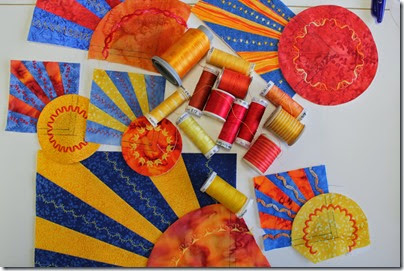
As you can see I pulled a bunch of red, orange and red threads from my thread stash and did a pretty stitch on each of the circles to add more interest. I also used the threads to stitch down the blue blades of the foundation pieced sun rays with the built in stitches on my machine. This is something I have wanted to do for a while and it really added texture and another layer of color to the blocks.
I used a glue stick to position the circles to the blocks and used more of the built in stitches on my machine to applique them. What fun! The circles were trimmed to their 1/4 circle after the applique was done.
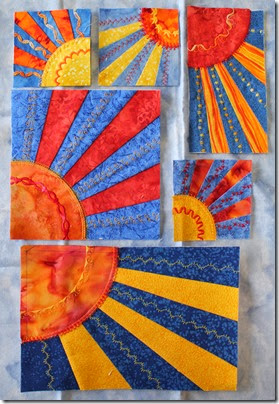 The blocks are done, now to figure out how to put them into a quilt. Come back for the next installment to see.
Until Later,
Lynn


1 comment:
Oh wow Lynn! That is just gorgeous. I think Brother makes a circle tool for my sewing machine...I'll have to look into it.
Can't wait to see what you do next :)
Post a Comment