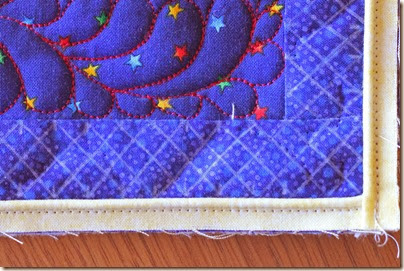
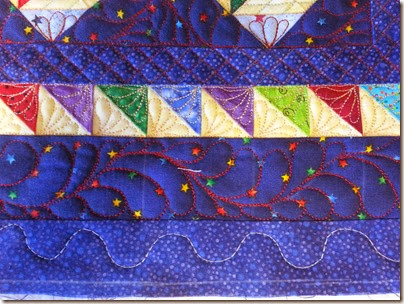
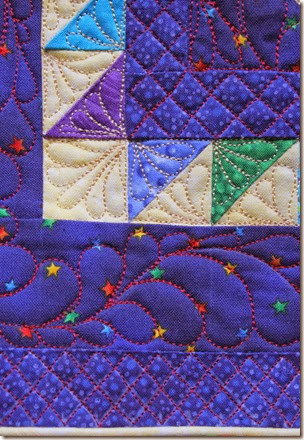
 The outside border I decided needed the grid quilting again to balance it out. I stitched the piped strips on first then chalked the grid. Why you might ask did I do it in this order? I wanted the grid quilting to stop at the edge of the piping and not sneak under the edge of it. I could have measured and drawn a line but knowing myself I knew I would be ripping off the piping to get the grid to look perfect on the edge so put it on first. Do you notice an undulating line indention on that gridded border? I free motion basted the border to the batting and backing to keep it flat while I stitched on the piping then removed the basting and marked the grid.
  To make and apply the piping I followed the directions from Susan K Cleveland on YouTube. There is a part 1 and part 2 so be sure to watch the second one. They are fabulous videos of this method which will not add bulk in the corners like other piping methods I have tried.
 All quilted and no more ripping those squiggles even though the lines are not so straight in places. It is good enough and the overall look is good.
Last step is to bind it and add a label so come back again and maybe I will have this quilt finished.
Until later,
Lynn

1 comment:
I love the elegant detail that piping is! You are a master of finishing things in great style, Lynn!
Post a Comment